
Configuring OpenVPN on Windows
Today, OpenVPN GUI is the most popular application. It has been established as stable and proven SW.
The following are instructions for installing OpenVPN GUI and a brief guide for setting up VPN on the Windows operating system. First, download OpenVPN client for Windows, install it, and then unzip configuration files downloaded from our website to the “config” folder. Open the OpenVPN app as administrator by right-clicking, then in the bottom right corner of the screen (tray) right click on the program icon, and select the server you want VPN to connect to. If everything has been made correctly, your computer IP will change to the IP of the selected server.
-
Download from the official website and install the latest version of OpenVPN for Windows XP (mirror) or Windows Vista and above (mirror) to your PC. During the installation process, when prompted by the application “Do you wish to install the TAP driver?”, answer “YES”.
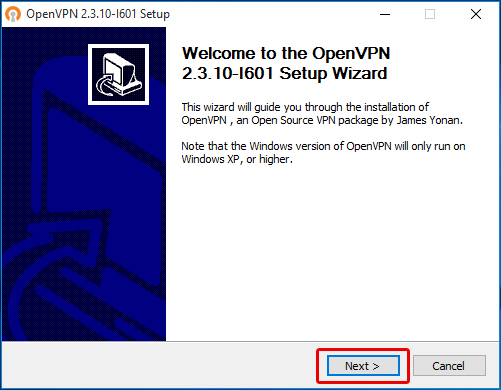
- Click “Next”.
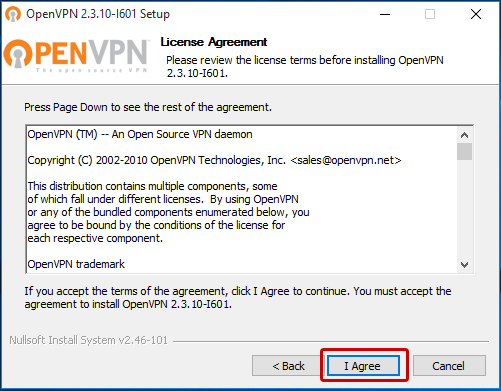
- Agree to the license.
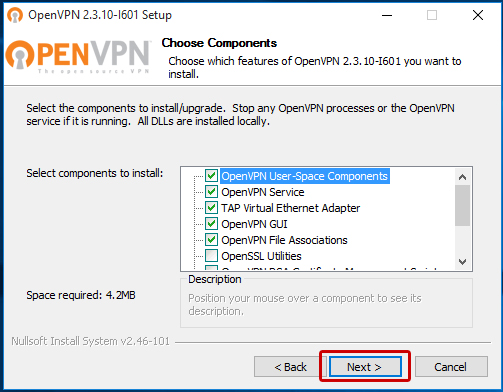
- Leave all boxes checked by default, without changing anything, and click “Next”.
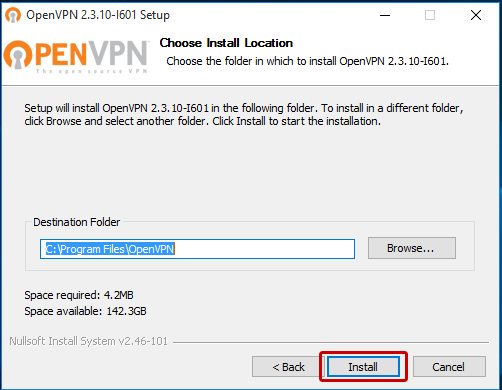
- Specify the installation path for OpenVPN GUI, we recommend leaving the default path.
- When the program is installed for the first time, you will be prompted to install the TAP driver, it should be installed.
- Click “Next”.
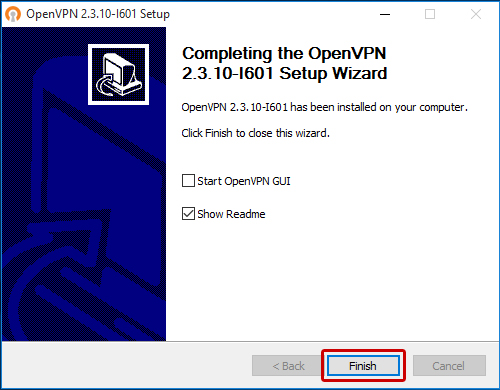
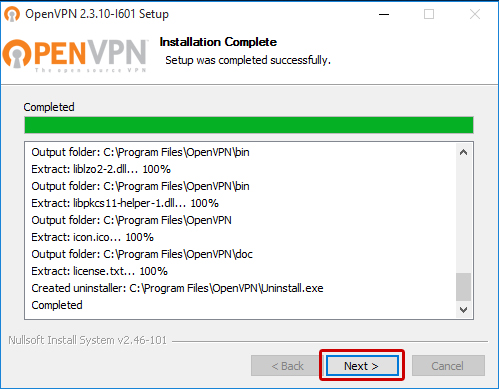
- Uncheck all boxes, and click “Finish”.
- Purchase an activation code from our website.
The purchased code should be entered on this page: https://cloudvpn.pro/code/, and get a link to downloading configurations.
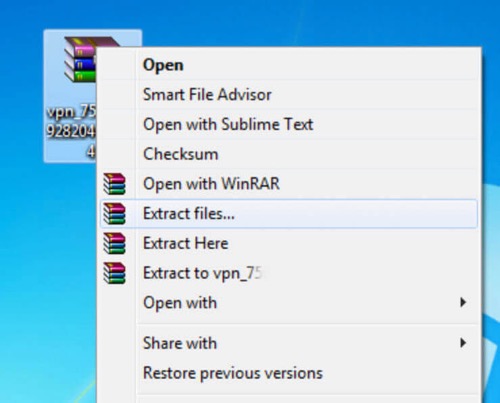
- After entering the activation code, click on the link and “download” of configuration. Download a ZIP archive with configurations to your computer (for example, desktop).
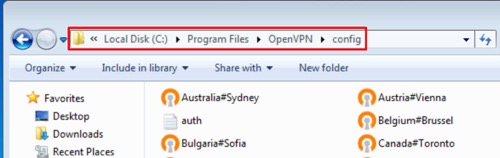
- Unzip the archive, and extract the configuration files into the “config” folder of previously installed OpenVPN GUI application.
If you have left the default path during installation, then the path will be: C:\Program Files\OpenVPN\config, or for x86 — C:\Program Files (x86)\OpenVPN\config
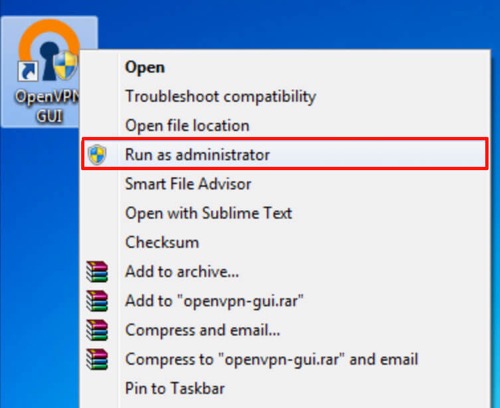
- Run the application as administrator by right-clicking on the OpenVPN GUI icon.
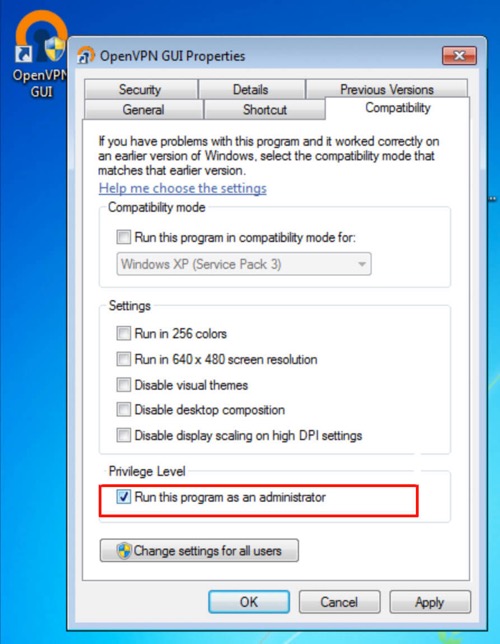
- To avoid opening the app as administrator each time, in the properties of shortcut > compatibility > set “run as administrator”.
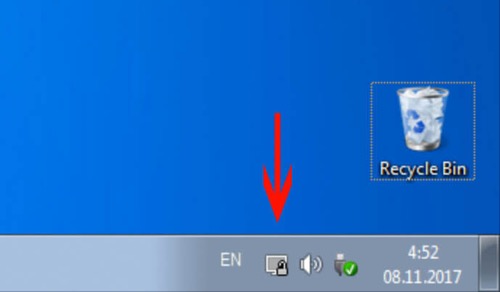
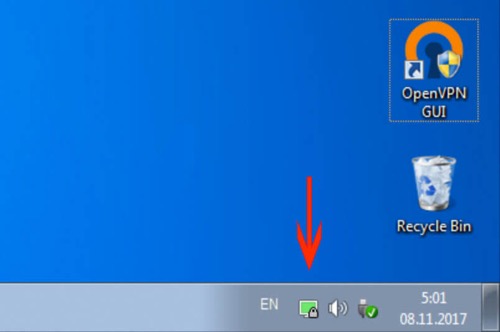
- OpenVPN icon will appear in the lower right corner of the screen next to the clock, right click to see the list of servers to connect to.
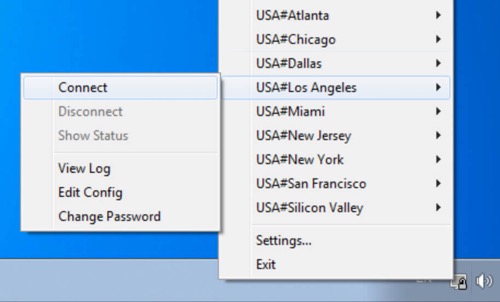
- In the drop-down list of servers, you can choose the one you need, and connect. The yellow icon means that you are connecting to the server, and the green icon means that connection has been established, and the OpenVPN connection is working.
- At the end, we recommend making sure that everything works and you have changed the IP address and country, use this service.