
Configuring CloudVPN on Mac OS X
A convenient application for computers running macOS with support of version 10.11 El Captan and above. Below are the instructions for installing and configuring the application.
- Download the latest version of CloudVPN for Mac from our website.
- Open the dmg archive with the application, and drag the application icon to the Application folder
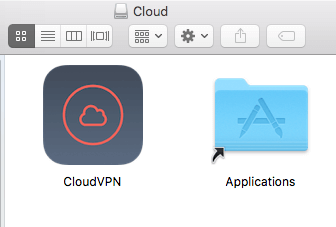
- Then the application will appear in the Programs section.
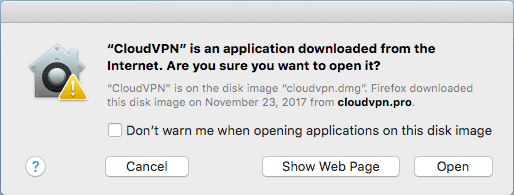
- When you run the application first, you will see a notification, click “Open”
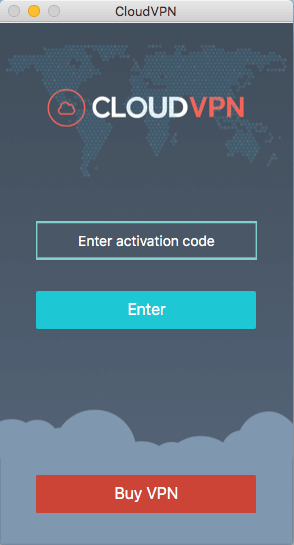
- Enter your activation code and click “Enter”
- In this screen, you can choose the server you want to connect to

- Upon first connection, the system will ask your permission to use VPN. Click “Yes”
- Upon successful connection, your status will change and you will see a notification

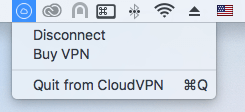
- You can also manage connections in the Tray menu
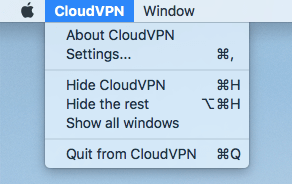
- In the settings of the application, you can specify the rules of application running and check automatic updates.
- At the end, we recommend making sure that everything works and you have changed the IP address and country, use this service.